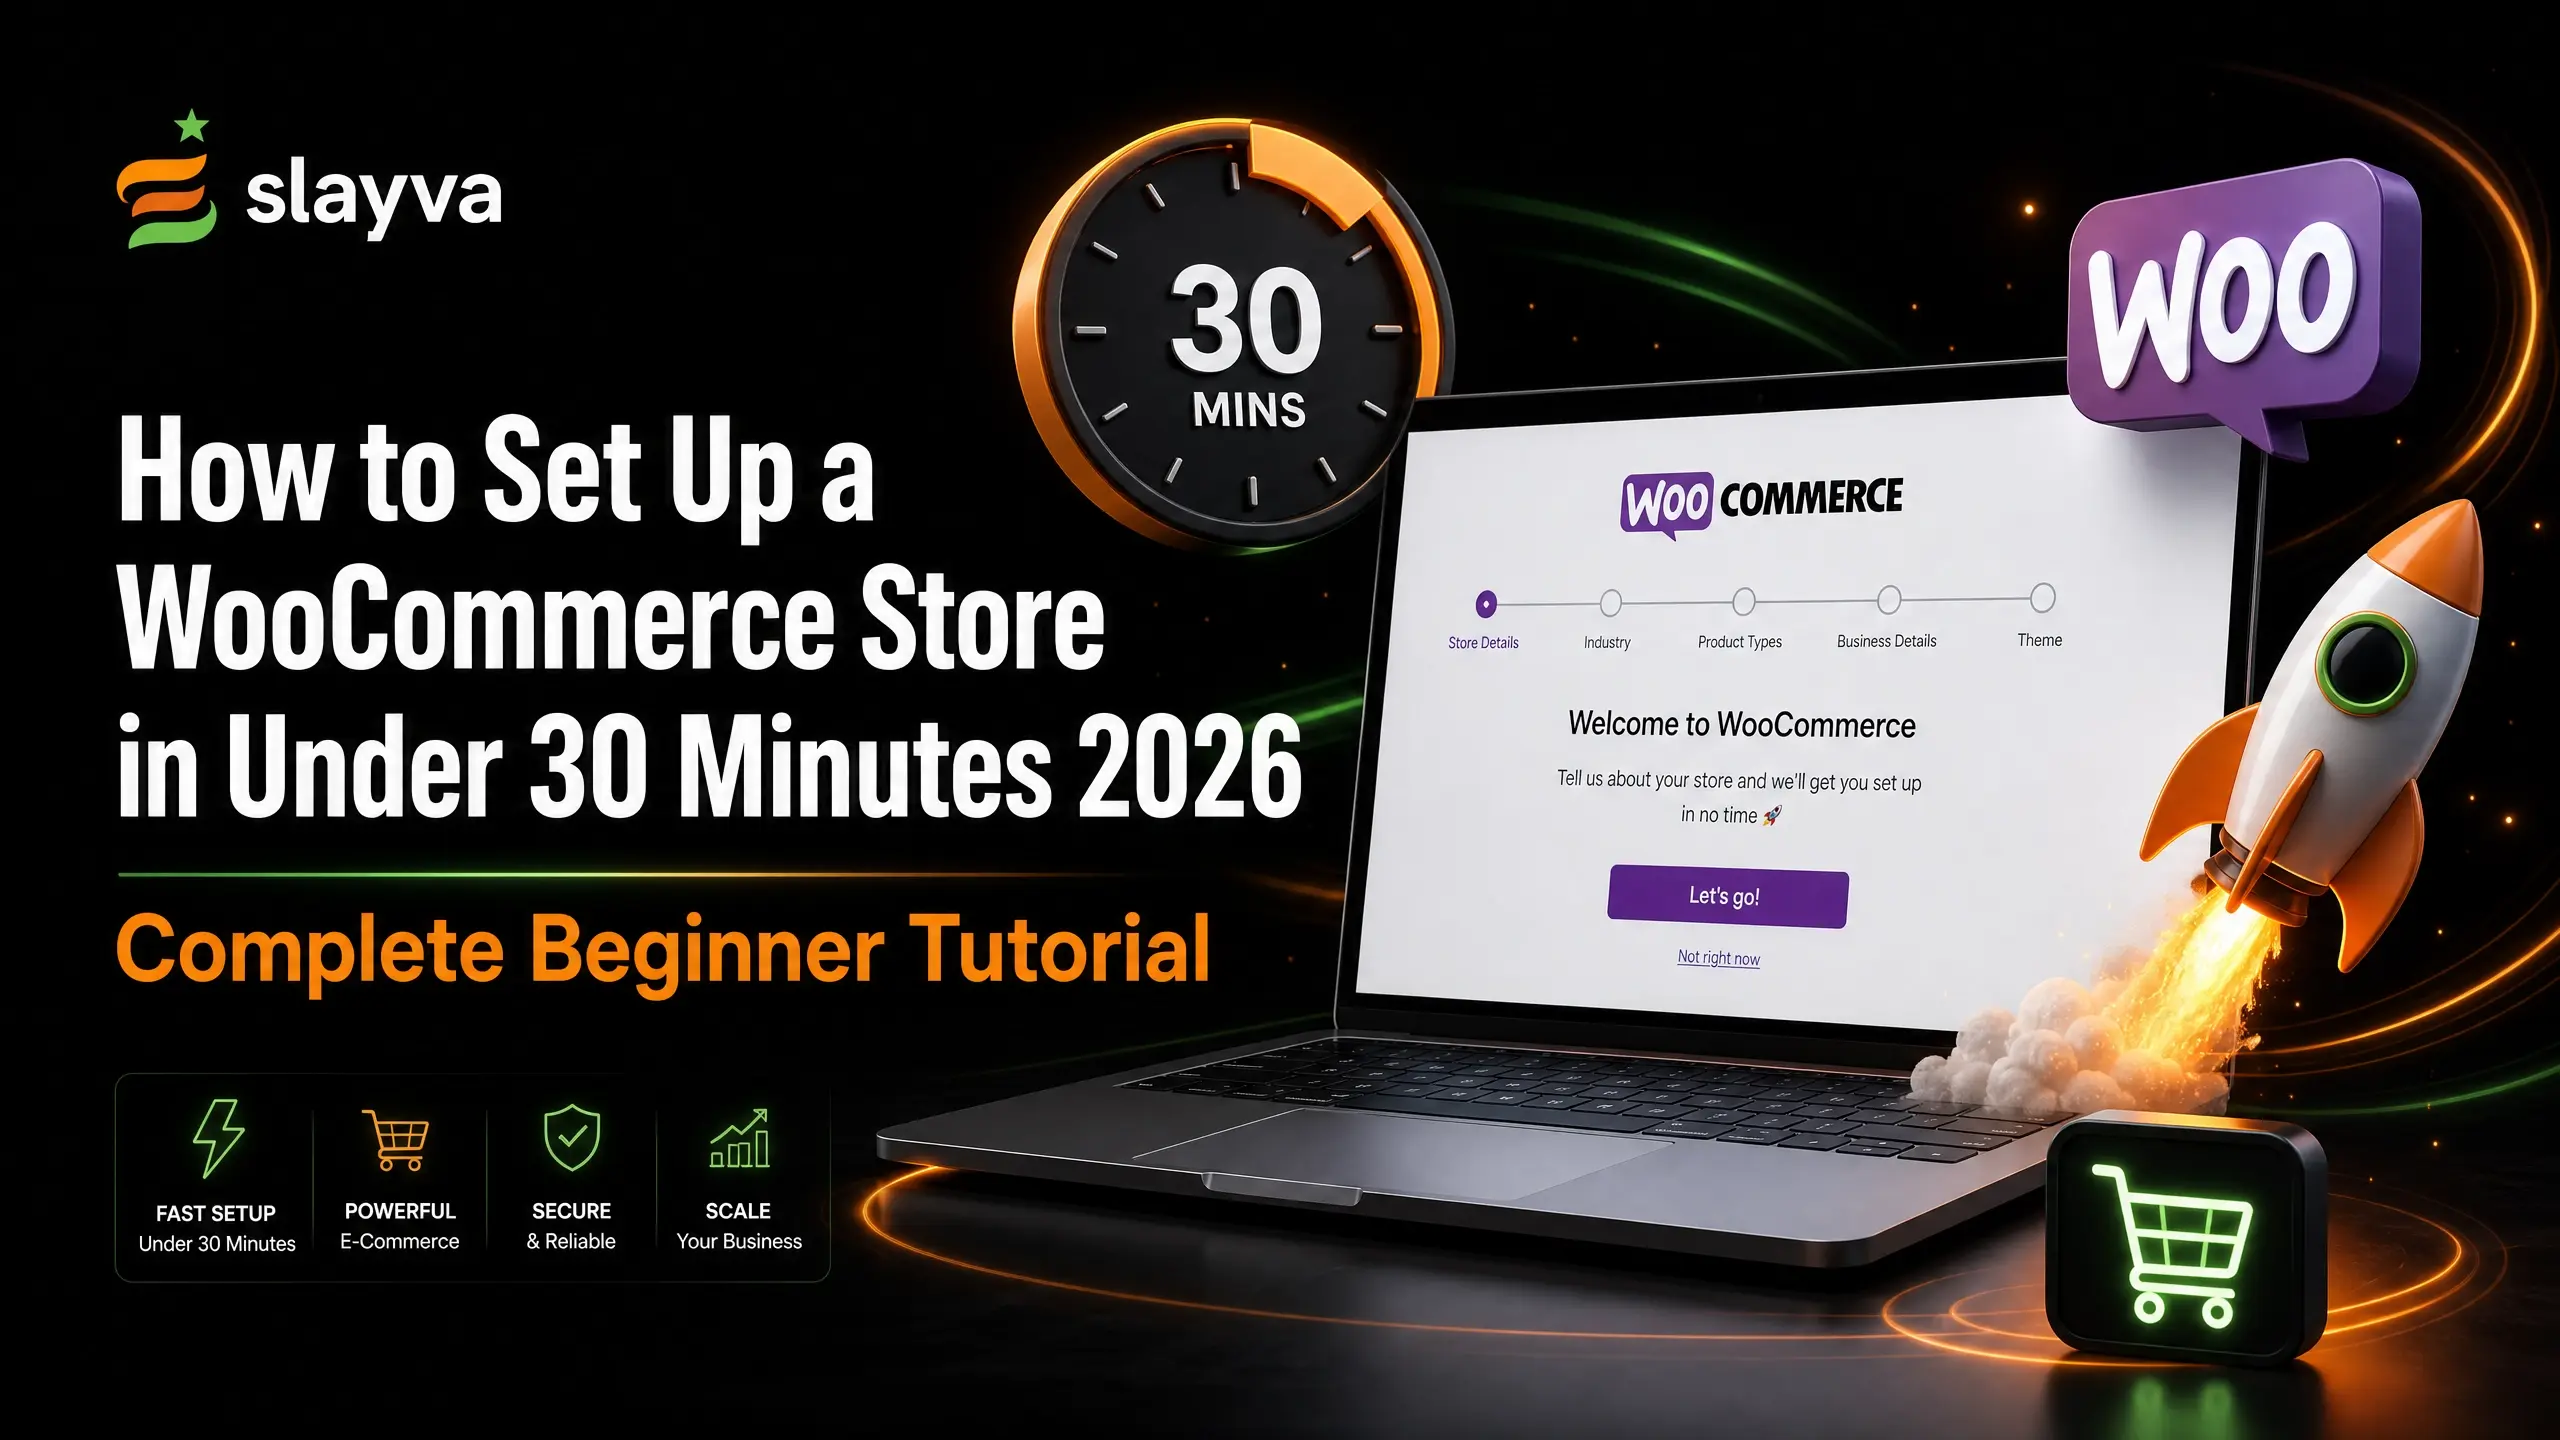
Introduction
You want to sell online. You heard WooCommerce is the way to go. Free. Flexible. Runs on WordPress.
But when you start looking at setup guides, they overwhelm you. Ten pages of technical jargon. Assumptions you already know things. Steps that skip the parts you actually need help with.
I remember that frustration. My first WooCommerce store took me three days to set up. Not because it is hard. Because nobody explained how to set up WooCommerce in plain order. I bounced between hosting setup, WordPress installs, plugin configurations, and theme settings. None of the guides connected the dots.
This guide connects those dots. You will have a working WooCommerce store in under 30 minutes. Not a half built skeleton. A real store. With products. With payment processing. Ready to take orders.
“Setting up WooCommerce is not complicated. It is a step by step checklist. Follow the order. Skip nothing. Your store will be live before you finish your coffee.”
This is how to set up WooCommerce the right way. No skipped steps. No assumed knowledge. Just the exact sequence that works. Once you learn how to set up WooCommerce using this method, you can launch stores for any niche in half an hour.
What You Need Before You Start
You need three things. All take under ten minutes to get.
A domain name. This is your store’s address. Something like yourstore.com. Get one from any domain registrar. Namecheap and Google Domains are both fine.
Web hosting. This is where your store lives. You need hosting that supports WordPress. Many hosts offer one click WordPress installs. SiteGround and Bluehost are common choices for beginners learning how to set up WooCommerce.
An SSL certificate. This secures your store. Most hosts include a free SSL certificate with their plans. Make sure yours does. You need it to process payments safely.
Pick a host that offers WordPress pre-installed. This saves you ten minutes of manual setup. When you sign up for hosting, choose the option to install WordPress during checkout. Most hosts prompt you for this. Say yes.
Step 1: Install WordPress and Log In
If your host installed WordPress for you, skip to logging in. If not, here is the manual install for how to set up WooCommerce from scratch.
Log into your hosting control panel. Find the WordPress installer. It is usually labeled “WordPress” or “Softaculous” or “One Click Installs.” Click it.
Choose your domain from the dropdown. Set a site name. Create a username and password. Use a strong password. Write it down. Click install. Wait sixty seconds.
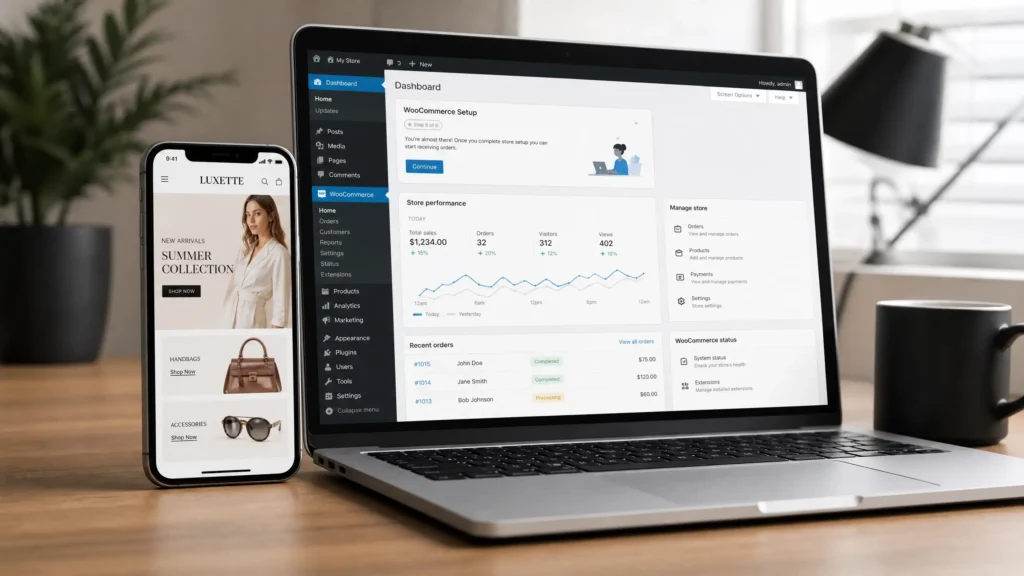
Now log into your WordPress dashboard. Go to yourdomain.com/wp-admin. Enter your username and password. You will see the WordPress dashboard. This is where you manage your entire store.
Step 2: Install and Activate WooCommerce
From your WordPress dashboard, look at the left sidebar. Find “Plugins.” Hover over it. Click “Add New.”
A search box appears in the top right. Type “WooCommerce.” It appears as the first result. Click “Install Now.” Wait a few seconds. The button changes to “Activate.” Click it.
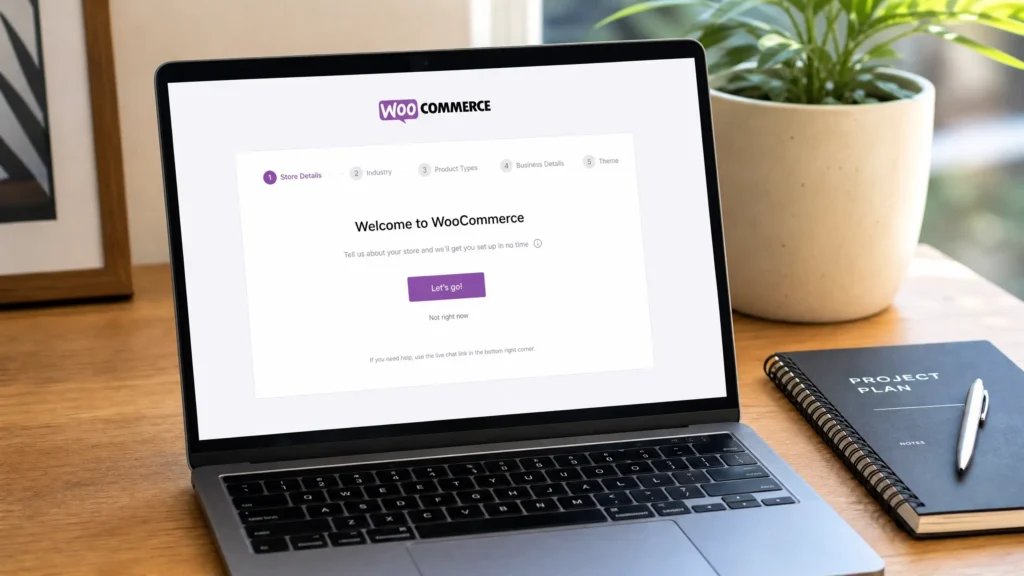
WooCommerce is now installed. The setup wizard launches automatically. If it does not, look for the WooCommerce welcome notice at the top of your dashboard. Click “Run the Setup Wizard.”
This is where most guides on how to set up WooCommerce rush through. Do not rush. The wizard sets up your store’s foundation. Get this right.
Step 3: Complete the WooCommerce Setup Wizard
The wizard walks you through five screens. Each one matters for how to set up WooCommerce correctly.
Store Details
WooCommerce asks for your store address. Fill this in accurately. It determines tax rates and shipping zones. Select your industry from the dropdown. Choose whether you sell physical products, digital products, or both. Most beginners sell physical products. Select that if it fits.
Payment Setup
This screen asks how you want to get paid. WooCommerce suggests Stripe and PayPal by default. Both are free to set up. Both are trusted by buyers worldwide.
Click “Stripe.” Follow the prompts to connect your Stripe account. You need your bank details and business information. If you do not have a Stripe account yet, create one during this step. It takes three minutes.
Click “PayPal.” Connect your PayPal business account. If you do not have one, sign up at PayPal.com. Select “Business Account.” Setup takes five minutes.
You can add more payment methods later. Stripe and PayPal cover 95% of what beginners need when learning how to set up WooCommerce.
Shipping Setup
This screen asks where you ship from and where you ship to. Set your ship from the location. Set your ship to zones. For beginners shipping domestically, select your home country for both.
Set your shipping rates. Flat-rate shipping is simplest for beginners. Enter a flat fee per order. Free shipping is better for conversions if your margins support it. Build shipping costs into your product prices if you offer free shipping.
Recommended Extensions
WooCommerce suggests additional plugins. Skip this screen for now. Click “Continue” without installing anything. You can add extensions later when you know what you need.
Theme Selection
WooCommerce suggests themes that work well with the plugin. Storefront is the official WooCommerce theme. It is free. It is clean. It works perfectly with all WooCommerce features.
Select Storefront or another free WooCommerce-compatible theme. You can change themes later. For now, pick something simple and functional.
Click “Finish Setup.” WooCommerce creates your core pages automatically. Shop page. Cart page. Checkout page. My Account page. All done. This is how to set up WooCommerce with the basics covered.
Step 4: Configure Essential WooCommerce Settings
The wizard handles the basics. These additional settings complete your store setup for anyone following this WooCommerce setup tutorial for complete beginners 2026.
Go to WooCommerce in your left sidebar. Click “Settings.” Work through these tabs.
General Tab
Set your selling location. “Sell to all countries” if you ship worldwide. “Sell to specific countries” if you ship domestically.
Set your default customer location. “Geolocate” is best. It auto-detects the customer’s country and shows the correct currency and shipping.
Enable taxes. Check “Enable tax rates and calculations.” You configure tax rates later based on your location.
Products Tab
Set your shop page. WooCommerce created this during setup. It should already be selected.
Set your measurement units. Choose pounds or kilograms for weight. Choose inches or centimeters for dimensions.
Enable reviews. Check “Enable product reviews.” Reviews build trust. Trust sells products.
Set inventory management. Check “Enable stock management.” This tracks your inventory. It prevents selling products you do not have.
Payments Tab
Confirm Stripe and PayPal are enabled. Toggle them on if they show as off. Add a test order to verify payments work. Place an order yourself. Process a refund. Confirm everything functions before real customers arrive. This testing step is part of any complete how to set up WooCommerce guide.
Shipping Tab
Add shipping zones. A shipping zone is a geographic region with specific shipping methods. Create a zone for your home country. Add flat rate shipping. Set the cost.
Create additional zones for international shipping if needed. Add shipping costs based on weight or order total.
Accounts and Privacy Tab
Enable guest checkout. Check “Allow customers to place orders without an account.” Forced account creation kills conversions. Let people buy without registering.
Set your privacy policy. Create a privacy policy page if you do not have one. Link it here. This is required for compliance in most regions.
Step 5: Add Your First Product
Your store is configured. Time to add something to sell. This is the step where most how to set up WooCommerce guides lose people. Follow these exact steps.
Go to Products in the left sidebar. Click “Add New.”
Product Title
Enter your product name. Be descriptive. “Handmade Ceramic Coffee Mug” not “Mug.” Include keywords buyers search for.
Product Description
Write a description that sells. Start with the problem your product solves. Describe how it solves it. List features as bullet points. End with a clear call to action.
Short paragraphs. Bold key phrases. Format for mobile phones. Most buyers browse on phones. This is a key lesson in how to set up WooCommerce for real sales.
Product Data Section
This section controls price, inventory, and shipping. Set the product type. “Simple product” for most items. “Variable product” for items with options like size or color.
Set your regular price. Add a sale price if offering a discount. Schedule sale dates if the discount is temporary.
Set inventory. Enable stock management. Enter your stock quantity. Set low stock threshold to get alerts when inventory runs low.
Set shipping. Enter weight and dimensions. This matters even if you offer free shipping. Accurate weights ensure correct shipping calculations for international orders.
Product Image
Set a product image. This is your main photo. Use a clean background. Show the product clearly. Fill the frame.
Add gallery images. Show the product from different angles. Show it in use. Show scale with a reference object. Show details and texture.
Product Categories
Create categories to organize your products. “Mugs” for the coffee mug example. Assign your product to relevant categories. Categories help buyers browse. They help your WooCommerce beginner guide from scratch 2026 store feel organized.
Tags
Add descriptive tags. Tags help buyers find related products. “Ceramic,” “Handmade,” “Coffee,” “Kitchen.” Do not overdo tags. Five to ten relevant terms per product.
Publish
Hit the blue “Publish” button on the right. Your product is live.
Step 6: Make Your Store Look Professional
Your store works. Now make it look good. This part of how to set up WooCommerce separates amateur stores from professional ones.
Customize Your Theme
Go to Appearance. Click “Customize.” This opens the WordPress customizer. Changes appear in real time on the right side.
Set your site identity. Upload your logo. Set your site title and tagline. Set your site icon. This appears in browser tabs.
Set your homepage. Choose between a static page and your latest products. For a store, show products on the homepage.
Select your colors. Match your brand. Keep it simple. Two or three colors maximum. Too many colors distract from your products.
Create Essential Pages
Your store needs pages besides products. Create an About page. Tell your story. Explain why you started. Build connection.
Create a Contact page. Include a contact form. List your email address. Make it easy for customers to reach you.
Create a Shipping Policy page. Explain how you ship. Timeframes. Costs. Carriers you use.
Create a Returns Policy page. Explain how returns work. Time limits. Condition requirements. Refund process.
Set Up Your Menu
Go to Appearance. Click “Menus.” Create a main menu. Add your essential pages. Shop. About. Contact. Policies.
Set the menu location to “Primary Menu.” This appears in your header. Buyers use it to navigate your store.
Step 7: Test Everything Before Going Live
You spent 30 minutes learning how to set up WooCommerce. Spend five more testing. Catching problems now saves hours of fixing later.
Place a test order. Go to your store. Add a product to cart. Check out using a real payment method. Confirm the order processes. Confirm you receive order notifications.
Test on mobile. Open your store on your phone. Browse products. Add to cart. Check out. Everything should work smoothly. Over 60% of WooCommerce traffic comes from mobile devices.
Test your contact form. Submit a test message. Confirm it reaches your email.
Test page speed. Use Google PageSpeed Insights. Check your homepage load time. Under three seconds is good. Under two seconds is better. If your site is slow, check your hosting quality.
Fix anything broken before announcing your store.
How to Add Products to WooCommerce Store for Beginners
Adding products is straightforward once you understand the workflow. Here is a quick reference for how to add products to a WooCommerce store for beginners.
Product types you need to know:
Simple products work for most items. One price. No options. No variations. A single SKU.
Variable products work for items with options. Size. Color. Material. Each variation has its own price and stock.
Digital products work for files. Ebooks. Printables. Software. No shipping required.
Affiliate products work for external links. You list products sold elsewhere. You earn commission on referrals.
For most beginners, simple products cover 80% of inventory. Learn simple products first. Add variable products when you sell items with options.
Product organization tips:
Use categories for broad groupings. “Clothing,” “Accessories,” “Home Decor.” Use tags for specific attributes. “Cotton,” “Handmade,” “Gift.” Use attributes for product variations. “Size,” “Color,” “Material.”
Keep categories limited. Five to ten well chosen categories. Too many categories confuse buyers and complicate navigation.
Product image best practices:
Main image on white background. Product fills the frame. Sharp focus. Good lighting.
Gallery images show angles. Front. Back. Sides. Details. Size reference. Product in use.
Image file names matter for SEO. Name your files descriptively. “handmade-ceramic-coffee-mug-white.jpg” not “IMG_4721.jpg.”
Alt text describes images for accessibility and SEO. “White handmade ceramic coffee mug on wooden table” not “mug photo.”
Conclusion
You now know how to set up WooCommerce in under 30 minutes.
Hosting and domain take five minutes. WordPress install takes two minutes. WooCommerce install takes two minutes. The setup wizard takes ten minutes. Settings configuration takes five minutes. First product takes five minutes. Testing takes five minutes.
That is under 35 minutes. Faster once you have done it once. This how to set up WooCommerce method works for any niche, any product, any market.
“Your WooCommerce store is not a project to perfect before launching. It is a business to launch and improve while running.”
Get your store live today. Add your first product. Test the checkout. Tell one friend to try buying something. Fix what breaks. Add another product tomorrow. Improve your descriptions next week. Install a better theme next month.
Momentum beats perfection. Launch. Learn. Improve. That is how to set up WooCommerce stores that actually make money.
Frequently Asked Questions About How to Set Up WooCommerce
Do I need technical skills to set up WooCommerce?
No. This how to set up WooCommerce guide requires no coding. You follow prompts. You click buttons. You type descriptions. If you can use Facebook, you can set up WooCommerce.
How much does it cost to set up WooCommerce?
WooCommerce is free. WordPress is free. You pay for hosting and a domain. Hosting starts around 3 to 10 per month. A domain costs about 10 to 15 per year. Total startup cost under $50. This makes setting up WooCommerce one of the cheapest ways to start selling online.
Which hosting is best for WooCommerce?
SiteGround and Bluehost both offer WordPress-specific hosting with one-click installs. WP Engine offers managed WooCommerce hosting for higher-volume stores. Start with a shared hosting plan. Upgrade as your store grows.
Do I need a business license to start selling?
Requirements vary by location. Check your local regulations. Many home-based businesses start without formal licensing. You need to collect and remit sales tax in most regions. WooCommerce handles tax calculations once configured.
How long before I make my first sale?
This depends on your marketing. Setting up the store is step one. Getting traffic is step two. Most new stores see their first organic sale within two to four weeks. Paid ads accelerate this timeline.
Can I change my theme later?
Yes. You can switch themes at any time. Your products, orders, and settings remain intact. Test new themes on a staging site before switching live.
What if I get stuck during setup?
The official WooCommerce documentation covers every feature. WordPress forums have answers to common problems. YouTube has video walkthroughs for visual learners. Most issues resolve with a quick search. Learning how to set up WooCommerce gets easier with practice.


